How to Set Up Shopify Payments: A Step-by-Step Guide for New Store Owners
Getting your store ready to accept payments is one of the first high-impact wins for any new Shopify merchant. Shopify Payments removes the headache of third-party merchant accounts and payment gateway configuration — you can accept credit & debit cards, digital wallets, and accelerated checkouts right from your Shopify admin. This guide walks you through the full setup, verification, payouts, and best practices so you can start taking orders confidently. (Keywords: Shopify Payments setup, set up Shopify Payments, Shopify payment gateway, payout schedule, merchant requirements.)
Quick overview — why use Shopify Payments
Shopify Payments is Shopify’s native payment processor: it simplifies onboarding (no separate merchant account), supports major card brands and accelerated checkouts (like Apple Pay / Google Pay), and centralizes payouts in your Shopify admin. If it’s available in your country, it’s usually the simplest route for most new stores. (Shopify Help Center)
Before you start — eligibility checklist
Make sure you have the basics ready before activating Shopify Payments:
A Shopify store (admins can access Settings → Payments).
A business or personal bank account that accepts payouts in your country/currency. (Shopify Help Center)
Your tax ID (or personal tax identifier where required — e.g., SSN/ITIN/EIN in the US). Many countries require tax details during onboarding. (Shopify Help Center)
Valid photo ID and business details for identity verification (Shopify may request documentation).
Confirm that Shopify Payments is available in your country — availability is country-specific and Shopify publishes the supported-countries list. If it’s not available, you’ll need a third-party gateway like Stripe, PayPal, etc. (Shopify Help Center)
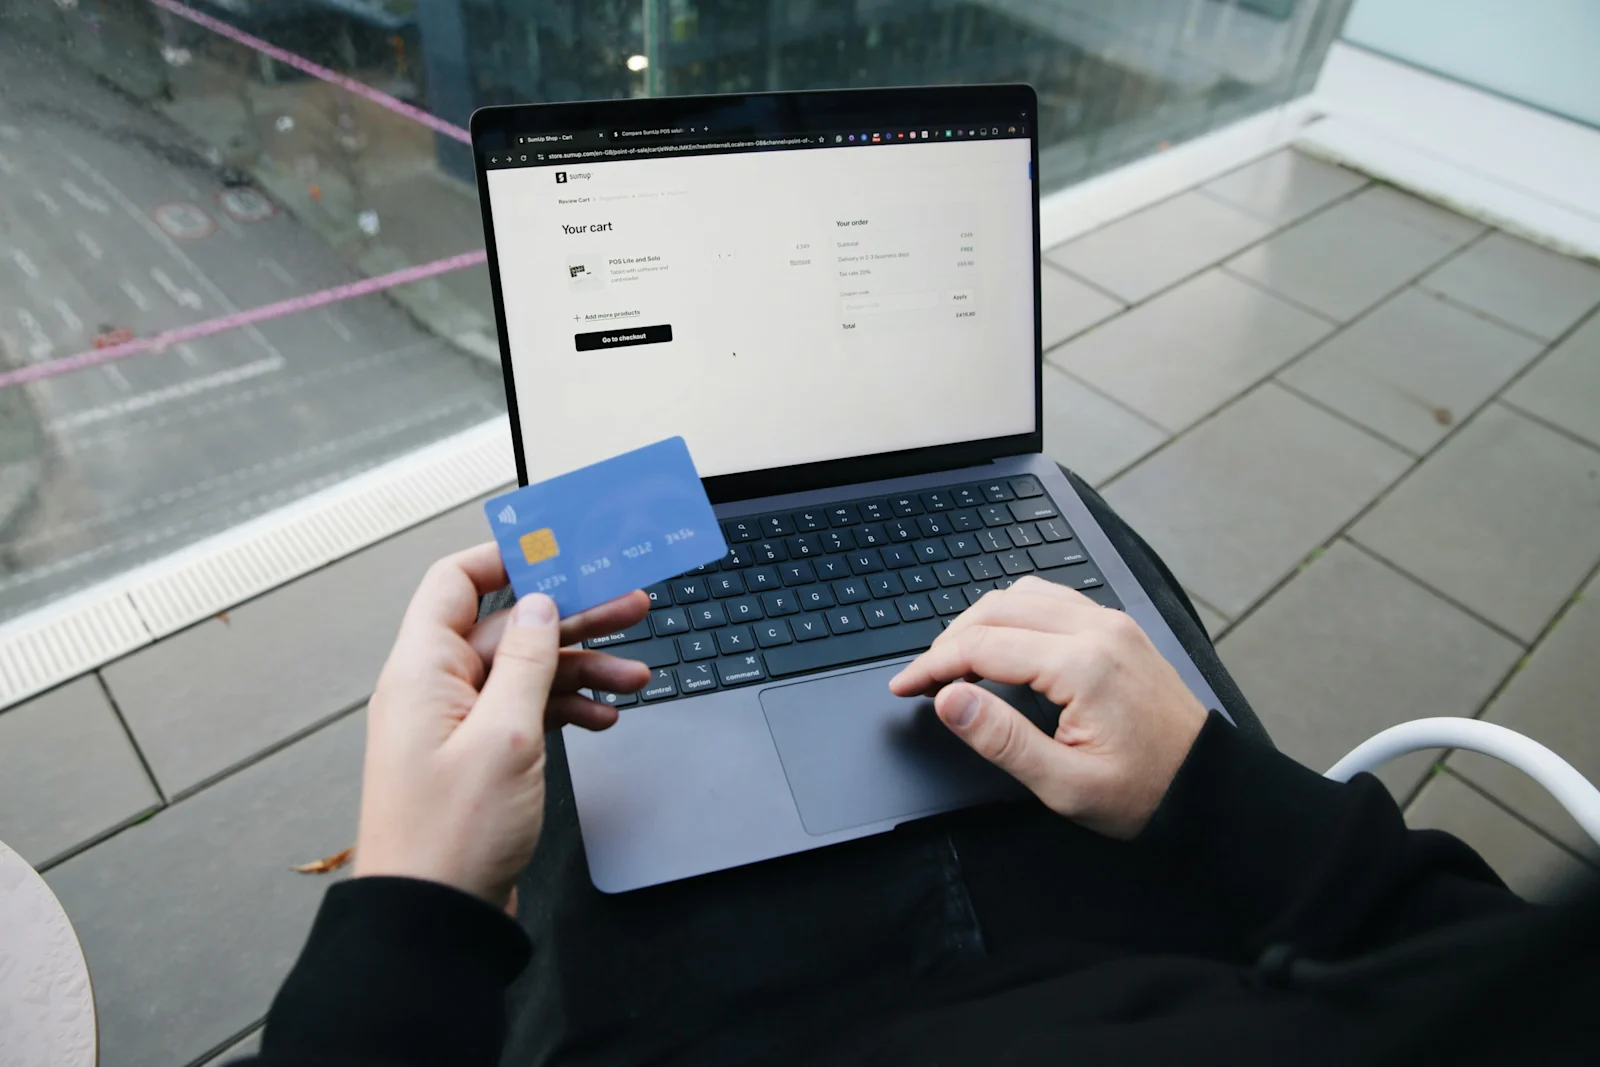
Step-by-step: Set up Shopify Payments (exact clicks)
Log into your Shopify admin.
Go to Settings → Payments.
In the Shopify Payments card, click Complete account setup (or Activate Shopify Payments if another gateway is active). (Shopify Help Center)
Fill in the requested business details: legal business name, address, phone, and business type (individual vs company).
Enter tax information (tax ID / SSN / EIN / local equivalent) and your bank account details for payouts. (Shopify Help Center)
Upload identity documents if prompted (government ID, business registration, proof of address).
Click Save. Shopify will begin verification — watch your email/Shopify admin for any follow-up document requests.
Verification & identity checks — what to expect
Shopify (or its acquiring partners) runs verification checks to confirm your identity and business legitimacy. You may be asked to provide: government-issued ID, business registration, or proof of bank account. Complete these promptly to avoid payout holds. (Shopify Help Center)
Payouts: schedule, bank account, and minimums
After a successful verification, funds from card sales are transferred to the bank account you provided. Shopify lets you choose a payout schedule (daily, weekly, or monthly) depending on your country and preference — configure this in Settings → Payments → Manage → Payouts schedule. (Shopify Help Center)
Ensure your bank account meets your country’s requirements (checking account, accepted currency) so payouts aren’t rejected. (Shopify Help Center)
Accepted payment methods & checkout UX
When Shopify Payments is active, you can enable:
Major credit/debit cards (Visa, Mastercard, AMEX where supported).
Digital wallets such as Apple Pay and Google Pay (accelerated checkouts increase conversion).
Local payment methods may vary by country; review the Payments settings and enable the options appropriate for your market. (Shopify Help Center)
Common issues & troubleshooting
“Shopify Payments not available in my country” — Check Shopify’s supported countries list. If not offered, use an approved third-party gateway or a local payment provider. (Shopify Help Center)
Verification requests / payout holds — respond quickly to documentation requests in the Shopify admin to avoid delays. (Shopify Help Center)
Mismatch between bank name and account owner — ensure your Shopify account legal name matches the bank account or provide supporting business docs. (Shopify Help Center)
High chargeback risk / fraud flags — enable Shopify’s built-in fraud analysis and consider additional fraud tools; respond to disputes promptly.
Compliance, taxes & legal notes
Enter accurate tax IDs during setup — Shopify uses this information for reporting and to comply with local regulations. Requirements differ by country (for example, the US requires SSN/ITIN/EIN depending on business type). (Shopify Help Center)
Some business types are restricted or prohibited on Shopify Payments — check Shopify’s terms for restricted businesses before applying. (Shopify Help Center)
Best practices to reduce payment friction & boost conversions
Enable accelerated checkouts (Apple Pay / Google Pay) to lower cart abandonment.
Display payment badges and accepted card logos on product pages and the footer to build trust.
Optimize checkout speed and minimize unnecessary checkout fields.
Set clear refund/returns policy and display shipping timelines — these reduce disputes and increase buyer trust.
Monitor payouts and reconcile daily or weekly to catch any issues fast.
International merchants & recent availability updates (2025)
Shopify has been expanding Shopify Payments into new countries in 2024–2025 — check Shopify’s supported-countries page often because availability changed recently and new regions were added in 2025. If your country was added recently, follow the standard onboarding flow in your admin. (Shopify Help Center)
Quick setup checklist (copy/paste)
Confirm Shopify Payments is supported in your country. (Shopify Help Center)
Prepare tax ID and a business/personal bank account. (Shopify Help Center)
In Shopify Admin: Settings → Payments → Complete account setup. (Shopify Help Center)
Upload identity documents if requested. (Shopify Help Center)
Choose a payout schedule in Settings → Payments → Manage Payouts. (Shopify Help Center)
FAQs (short)
Q: How long until I receive my first payout? A: Payout timing depends on your payout schedule and verification status. Once verified, payouts follow the schedule you select in the admin. (Shopify Help Center)
Q: Can non-US residents use Shopify Payments with a US LLC? A: Policies vary — Shopify may require additional identity verification. Non-US merchants often need to contact Shopify Support or meet local documentation requirements. Community reports suggest contacting support if SSN is not available. (Shopify Community)
Q: What if I’m not eligible for Shopify Payments? A: Use a recommended third-party payment provider (Stripe, PayPal, local gateways) — you can configure them under Settings → Payments. (Shopify)
Final tips — stay proactive
Keep your payout settings, tax info, and banking details up to date. Respond to verification/document requests immediately. Monitor fraud analysis and chargeback trends — early action prevents revenue interruptions.
How GetAri can help
Setting up payments is the first step; optimizing your checkout copy, trust signals, and post-purchase messaging is where you win conversions. GetAri helps by generating conversion-focused checkout copy, clear refund/returns pages, and SEO-friendly FAQs and help-center content that reduce disputes and increase conversions. GetAri can also help create payment-related emails (receipt, failed payment, payout notification templates) and push optimized meta/FAQ content into your Shopify store fast. Learn more at: https://getari.co/
Aditya Shukla
Content Writer